The Lycoming O-360 Overhaul Manual provides detailed instructions for maintaining and repairing the O-360 engine‚ ensuring safety and performance. It is essential for owners‚ pilots‚ and mechanics.
Overview of the Lycoming O-360 Engine
The Lycoming O-360 is a four-cylinder‚ air-cooled‚ horizontally opposed piston aircraft engine. Known for its reliability and versatility‚ it powers various small aircraft. The engine features a displacement of 361 cubic inches and is available in multiple variants‚ including fuel-injected models like the IO-360. Its durability and performance make it a popular choice for training and recreational aircraft.
Purpose and Scope of the Overhaul Manual
The Lycoming O-360 Overhaul Manual serves as a comprehensive guide for owners‚ pilots‚ and mechanics to perform major repairs and replacements. It outlines procedures for engine disassembly‚ inspection‚ and reassembly‚ ensuring compliance with safety standards. The manual also covers modifications and parts replacement‚ providing detailed instructions for maintaining optimal engine performance and longevity.
Understanding the Lycoming O-360 Engine Model Variations
The Lycoming O-360 engine is available in several models‚ including the O-360‚ IO-360‚ and LO-360‚ each with distinct features and applications. This section explains their differences‚ helping users identify and understand their specific engine variant.
Differences Between O-360‚ IO-360‚ and LO-360 Models
The O-360 is a carbureted‚ naturally aspirated engine‚ while the IO-360 features fuel injection for improved performance. The LO-360 is a low-compression variant‚ designed for use with automotive fuel. Each model offers distinct capabilities‚ catering to different aircraft and operational needs‚ with variations in power output and fuel efficiency.
Identifying Your Engine Model and Serial Number
Your engine model and serial number are located on a data plate mounted on the engine. The model prefix (e.g.‚ O-360‚ IO-360) and serial number are essential for ordering parts and referencing the overhaul manual. Always cross-reference with Lycoming documentation to ensure accuracy.
Pre-Overhaul Checks and Evaluation
A thorough pre-overhaul inspection ensures engine airworthiness. Conduct visual checks‚ compression tests‚ and oil analysis to identify wear or damage. Review maintenance records for service history and compliance.
Visual Inspection of Engine Components
Begin with a detailed visual inspection of all engine components‚ including the crankshaft‚ cylinders‚ and pistons. Look for signs of wear‚ corrosion‚ or damage. Check for oil leaks around seals and gaskets. Ensure all parts are clean and free from debris. Use specialized tools like a bore scope for internal inspections. This step is crucial for identifying potential issues early and ensuring a successful overhaul.
Compression Test and Oil Analysis
Perform a compression test to identify low compression in cylinders‚ which may indicate worn piston rings or valve issues. Analyze engine oil for metal particles or contaminants‚ revealing internal wear. These tests are critical for assessing engine condition and determining the extent of overhaul required. Always follow Lycoming’s specific guidelines for accurate results.
Reviewing Maintenance Records and Logbooks
Maintenance records and logbooks provide a detailed history of the engine’s performance‚ repairs‚ and inspections. They help identify patterns of wear and ensure compliance with Lycoming’s guidelines. Regular logbook entries are essential for tracking the engine’s condition and planning the overhaul process effectively.
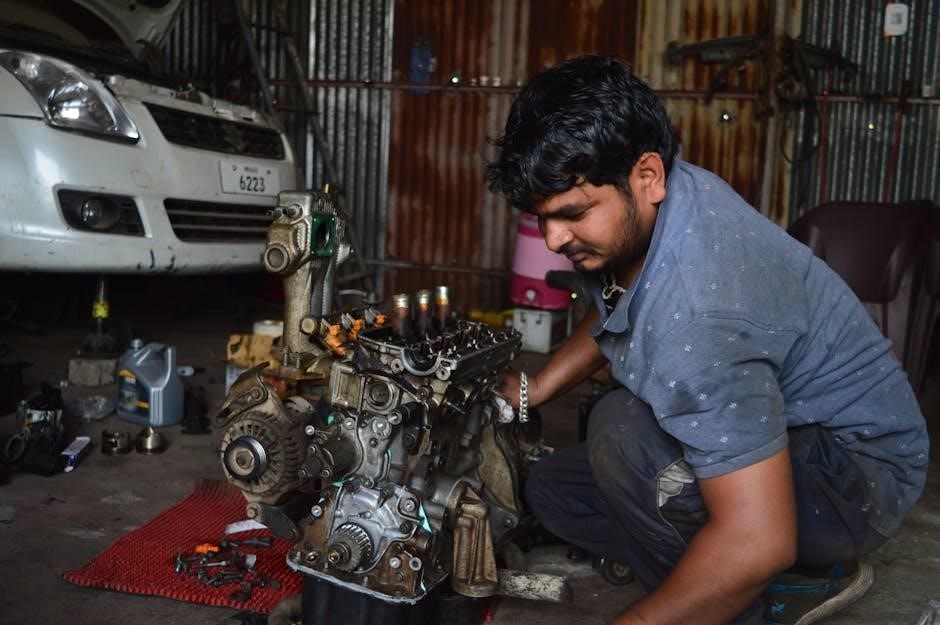
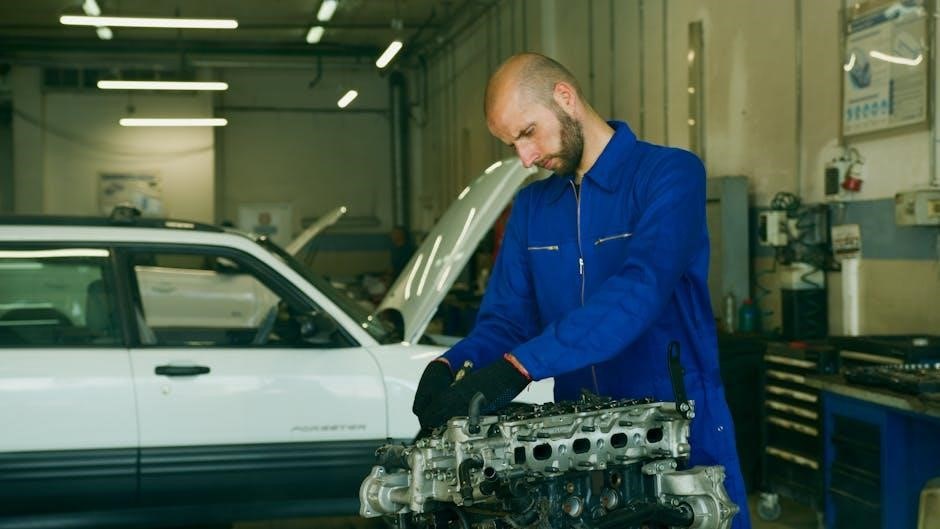
Disassembly of the Lycoming O-360 Engine
Disassembling the Lycoming O-360 requires specialized tools and careful attention to detail. Proper techniques ensure engine components are preserved for inspection and reassembly‚ as outlined in the manual.
Tools and Equipment Required for Disassembly
Disassembling the Lycoming O-360 engine requires specialized tools‚ including wrenches‚ socket sets‚ pullers‚ and precision gauges. Proper equipment ensures safe and efficient removal of components‚ preventing damage during the process. A clean‚ organized workspace and appropriate storage solutions are also essential for managing disassembled parts effectively.
Step-by-Step Disassembly Process
Begin by removing the propeller and accessories‚ followed by the oil cooler and intake manifolds. Drain the oil and remove the cylinder heads‚ oil pump‚ and crankcase. Carefully extract the main bearings and pistons‚ then the connecting rods. Finally‚ remove the camshaft and valve train‚ and the crankshaft‚ ensuring all components are documented and stored properly.
Handling and Storage of Disassembled Parts
Disassembled parts must be stored in labeled‚ protective containers to prevent damage. Clean and inspect each component before storage. Avoid exposure to moisture and physical stress. Use original packaging when possible. Document each part’s condition and location. Refer to the manual for specific storage guidelines to maintain component integrity during the overhaul process.

Inspection and Repair of Engine Components
A thorough inspection ensures all components meet specifications; Evaluate the crankshaft and cylinders for wear or damage. Address any issues promptly to prevent further deterioration. Always follow manual guidelines for proper repairs and optimal engine performance.
Crankshaft and Camshaft Inspection
Inspect the crankshaft for wear or damage‚ including journal surfaces and threads. Measure dimensions using a micrometer to ensure they meet specifications. Check the camshaft for lobe wear or damage‚ and verify bearing surfaces are smooth. Any significant damage requires immediate repair or replacement to prevent engine failure and ensure optimal performance. Always follow manual guidelines for accurate assessment and necessary repairs.
Cylinder and Piston Evaluation
Inspect cylinders for scoring‚ wear‚ or excessive clearance. Measure cylinder bore using a micrometer and check for roundness. Evaluate piston skirts and rings for wear or damage. Look for signs of overheating or detonation. Replace components if beyond acceptable limits to ensure proper compression and engine performance. Always follow manual specifications for accurate assessment.
Valve and Valve Train Repair
Inspect valves for wear‚ pitting‚ or warping. Measure valve stem-to-guide clearance and replace if exceeds limits. Check valve seats for proper contact and repair or replace as needed. Examine valve springs for tension loss. Replace worn or damaged retainers and keepers. Clean and lubricate components before reassembly to ensure smooth operation and prevent premature wear.
Reassembly of the Lycoming O-360 Engine
Reassembly involves careful installation of components‚ ensuring proper torque specifications and clearances. Accessories and systems are reinstalled‚ and the engine is prepared for testing to restore performance and reliability.
Preparing Components for Reassembly
Components must be thoroughly cleaned‚ inspected‚ and lubricated before reassembly. Replace any worn or damaged parts‚ ensuring all surfaces are free from debris; Adhere strictly to the manual’s guidelines to maintain safety and performance standards during the process.
Following Torque Specifications and Bolt Tightening Sequences
Adhering to the manual’s torque specifications ensures proper engine assembly and prevents damage. Use a torque wrench and follow the recommended sequence for bolt tightening. Incorrect torque can lead to engine failure‚ so precision is critical during the reassembly process.
Reinstalling Accessories and Systems
Reinstalling accessories like fuel injection‚ ignition‚ and oil systems requires careful alignment and secure fastening. Follow the manual’s guidelines for proper installation to prevent leaks and ensure optimal performance. Double-check all connections and electrical components to avoid malfunctions. Proper installation is crucial for reliable engine operation and long-term durability.
Testing and Inspection Post-Overhaul
Post-overhaul testing ensures the engine operates within specifications. Conduct thorough inspections‚ including leak checks and functional tests‚ to verify performance and safety. This step guarantees reliability and optimal operation.
Initial Engine Start and Break-In Procedure
The initial start involves checking fuel flow‚ ignition‚ and oil pressure. A gradual break-in process ensures proper piston ring seating and prevents premature wear. Follow the manual’s guidelines to avoid damage and ensure optimal engine performance. Monitor all systems closely during this critical phase.
Leak Checks and Functional Tests
Leak checks involve inspecting fuel‚ oil‚ and coolant systems for any seepage or breaches. Functional tests ensure all components operate within specifications‚ including magneto timing and propeller pitch control. These steps verify engine reliability and performance‚ addressing potential issues before they escalate. Attention to detail is crucial for safety and longevity.
Final Inspection and Clearance for Service
A final inspection ensures all components meet Lycoming standards‚ verifying repairs and replacements. This critical step confirms the engine is airworthy and ready for service‚ preventing future issues and ensuring optimal performance.
Cost Estimation and Planning for Overhaul
Estimating costs for an O-360 overhaul involves parts‚ labor‚ and tools. Proper planning ensures budgeting and scheduling align with maintenance requirements and resource availability.
Parts and Labor Costs Associated with Overhaul
The O-360 overhaul involves significant costs for replacement parts and skilled labor. Estimates suggest a total of $20‚000 to $30‚000‚ depending on component condition and shop rates. Key expenses include crankshaft‚ cylinders‚ and piston rings. Labor costs typically account for 40% of the total‚ emphasizing the need for detailed budgeting and planning.
Time and Resource Allocation
The O-360 overhaul requires approximately 40 to 60 hours of skilled labor‚ depending on the engine’s condition. Proper tools and facilities are essential for efficiency. Planning for potential delays‚ such as parts procurement‚ ensures a smooth process. Experienced mechanics can significantly reduce downtime and ensure compliance with manual guidelines.
Comparing Overhaul vs. Replacement Options
Overhauling the O-360 is cost-effective for engines with minor wear‚ allowing reuse of core components. Replacement is recommended for severely damaged engines or those nearing TBO. Consider factors like budget‚ downtime‚ and long-term needs. A new engine offers a zero-time condition and warranty‚ while overhaul extends service life at lower costs.
Maintenance Tips to Extend Engine Life
Adhering to the manual’s guidelines‚ regular oil changes‚ and filter replacements are crucial. Avoid harsh chemicals‚ monitor wear‚ and ensure proper fuel use to maximize engine longevity and performance.
Regular Maintenance Practices
Regular maintenance practices for the Lycoming O-360 engine are essential for extending its service life. These include routine oil changes‚ filter replacements‚ and visual inspections of engine components. Additionally‚ performing compression tests and oil analysis helps identify potential issues early. By following the overhaul manual’s guidelines‚ you can ensure the engine operates safely and efficiently‚ reducing the need for major repairs over time.
Monitoring Performance and Wear
Monitoring the Lycoming O-360 engine’s performance and wear is crucial for proactive maintenance. Tracking oil consumption‚ fuel efficiency‚ and engine temperatures helps detect anomalies. Regular inspections of cylinder compression‚ valve train‚ and bearings ensure optimal performance. Addressing wear early prevents major overhauls and extends the engine’s lifespan‚ ensuring reliability and safety in flight operations.
Fuel and Oil Recommendations
Using the correct fuel and oil is vital for the Lycoming O-360 engine. Aviation-grade fuel‚ such as 100LL‚ is recommended to prevent vapor lock and ensure proper combustion. Synthetic oil is ideal for optimal engine lubrication and temperature control‚ enhancing performance and longevity. Regular oil changes maintain cleanliness and reduce wear.

Case Studies and Real-World Examples
Practical insights from successful Lycoming O-360 overhauls highlight common challenges and solutions‚ offering valuable lessons for mechanics and owners to ensure optimal engine performance and longevity.
Successful Overhaul Stories and Lessons Learned
Aircraft owners and mechanics share experiences with Lycoming O-360 overhauls‚ emphasizing proper manual adherence‚ precise tool usage‚ and thorough inspections. These stories highlight how following guidelines ensures engine reliability and longevity‚ while also revealing common pitfalls to avoid during the process‚ enhancing future maintenance practices.
Common Mistakes to Avoid
Overlooking torque specifications‚ improper disassembly techniques‚ and insufficient inspection of components are frequent errors during O-360 overhauls. Mechanics often underestimate wear on crankshafts and pistons‚ leading to premature failures. These mistakes highlight the importance of strict adherence to the manual and meticulous attention to detail for a successful overhaul process.
Best Practices from Experienced Mechanics
Experienced mechanics emphasize thorough pre-overhaul inspections‚ precise torque specifications‚ and meticulous reassembly processes. They recommend using genuine Lycoming parts and adhering strictly to the manual. Regular oil analysis and maintaining detailed maintenance records are also crucial for extending engine life and ensuring optimal performance after overhaul.
Troubleshooting Common Issues Post-Overhaul
Addressing Common Post-Overhaul Issues
Common issues include vapor lock‚ oil leaks‚ and fuel system malfunctions. Mechanics recommend checking fuel lines‚ verifying torque specifications‚ and ensuring proper engine priming to resolve these problems effectively.
Identifying and Resolving Leaks
Leaks post-overhaul often occur in fuel lines‚ gaskets‚ or cylinder heads. Use pressure tests to locate leaks. Inspect connections and seals‚ replacing damaged parts. Reseal or replace faulty components‚ ensuring proper torque specifications. Addressing leaks promptly prevents further damage and ensures reliable engine performance and safety.
Addressing Performance Anomalies
Performance issues post-overhaul may include reduced power or rough running. Check fuel system integrity‚ especially in fuel-injected models‚ as vapor lock can occur. Verify proper installation of components and ensure compliance with manual specifications. Addressing anomalies promptly prevents deterioration and restores optimal engine efficiency and reliability.
Diagnosing Electrical and Fuel System Problems
Electrical issues may stem from faulty wiring or connectors‚ while fuel system problems could involve leaks or improper installation. Use manual guidelines to inspect fuel injectors‚ pumps‚ and lines. Ensure electrical connections are secure and corrosion-free. Proper diagnostics prevent operational failures and ensure reliable engine performance after overhaul.
The Lycoming O-360 Overhaul Manual is a critical resource for ensuring engine longevity. Adherence to guidelines‚ proper maintenance‚ and future upkeep are vital for sustained performance and safety.
The Lycoming O-360 Overhaul Manual outlines a structured process: disassembly‚ inspection‚ repair‚ and reassembly. Critical steps include evaluating components‚ addressing wear‚ and adhering to torque specifications. Post-overhaul‚ thorough testing ensures reliability and performance‚ with detailed documentation guiding each phase for optimal results.
Importance of Adhering to Manual Guidelines
Adhering to the Lycoming O-360 Overhaul Manual ensures compliance with safety standards‚ prevents premature wear‚ and maintains engine performance. Deviating from guidelines can lead to operational risks and costly repairs. Following the manual’s instructions is crucial for reliability and longevity of the engine.
Future Maintenance and Upkeep
Regular maintenance and adherence to the Lycoming O-360 Overhaul Manual ensure optimal engine performance and longevity. Schedule routine inspections‚ monitor wear parts‚ and address issues promptly to prevent major repairs. Proper upkeep reduces operational risks and extends the engine’s service life‚ safeguarding aircraft reliability and safety.

References and Additional Resources
Consult the official Lycoming O-360 Overhaul Manual and supplementary guides for detailed procedures. Online forums and Lycoming’s support network offer valuable insights and troubleshooting tips for engine maintenance and repair.
Recommended Manuals and Documentation
The official Lycoming O-360 Overhaul Manual is essential for detailed procedures. Additionally‚ refer to the Parts Catalog for component identification and the Service Bulletin for updates. The Pilot’s Operating Handbook provides operational insights‚ while Technical Service Letters offer specific guidance for maintenance and repairs.
Online Forums and Communities
Online forums like AOPA‚ PPRuNe‚ and AVsig offer valuable discussions on the Lycoming O-360 overhaul. These platforms provide insights‚ troubleshooting tips‚ and advice from experienced mechanics and pilots‚ helping to resolve common issues and share best practices for engine maintenance and repair.
Contact Information for Lycoming Support
For assistance with the Lycoming O-360 overhaul manual‚ contact Lycoming’s support team at (800) 258-3279 or visit their official website at https://www.lycoming.com. Email inquiries can be directed to support@lycoming.com. Their support network is available to address questions‚ repairs‚ and documentation needs;